
GRP Lamination Process: Tools, and Techniques You Need to Know
Have you ever thought about how the layer of GRP is made? The GRP lamination process involves layering glass fibers with a resin matrix to shape a lightweight, yet strong and corrosion-free pipeline. This method is widely used due to structural fortification and long-term performance in industrial and infrastructure projects, including pipelines, tanks, marine vessels, and construction panels.
In this article, we’ll provide you with a step-by-step lamination process, the materials and equipment used, and a quality control section for a reliable result.
What is the GRP Lamination Process?
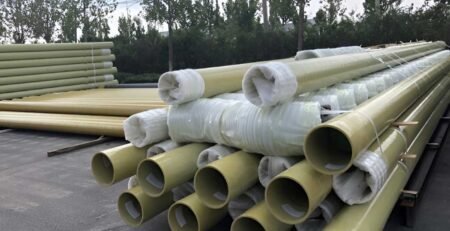
Glass Reinforced Plastic (GRP), a long-lasting composite, is produced by laminating glass fibers, such as chopped strand mat (CSM) or woven roving, with a resin matrix, such as polyester, vinyl ester, or epoxy resin. It indicates exact control over thickness and strength through the use of the hand lay-up process.
What Are the Key Purposes of GRP Lamination?
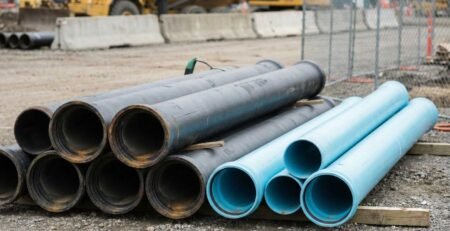
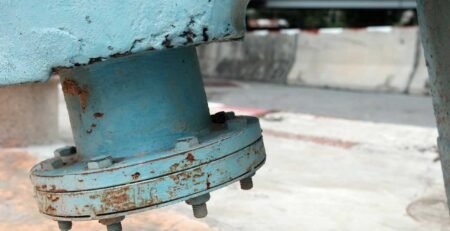
GRP lamination is mainly used in repairing damaged pipes or tanks, adding strength to structures like bridges or marine hulls, and lining surfaces in chemical tanks or wastewater facilities to prevent corrosion.
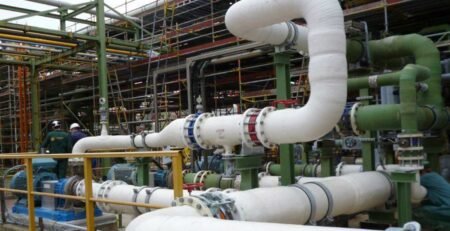
Additionally, because of its flexibility and ability to resist corrosion, it plays a role in the automotive, marine, and construction industries.
Step-by-Step GRP Lamination Procedure
The GRP pipe lamination process is one of the central steps of a strong and durable glass reinforced plastic (GRP) composite production. Below is a comprehensive explanation of this method, including four steps for a high-quality result in construction, marine, and industrial systems.
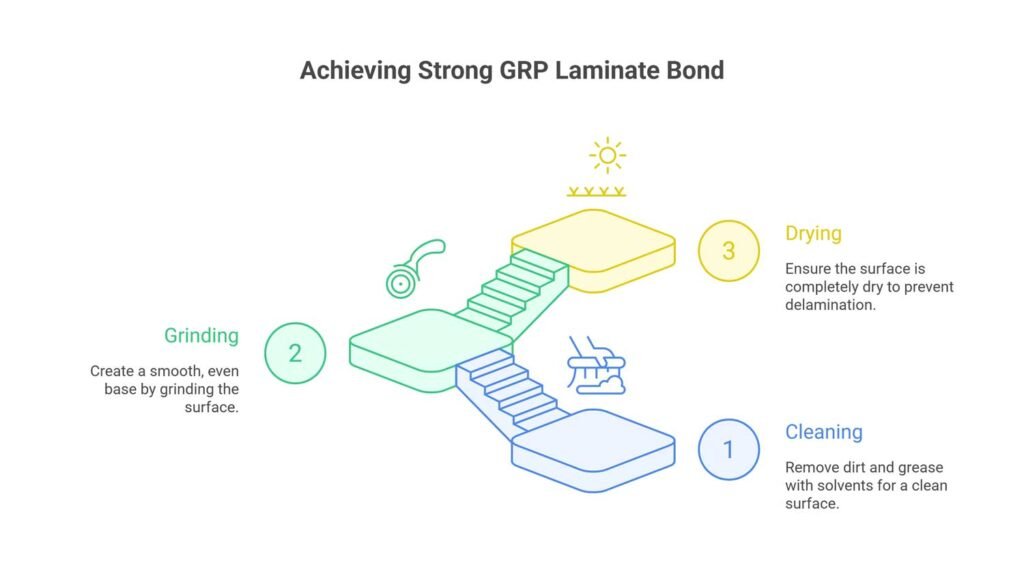
1. Surface preparation
Proper surface preparation makes a strong bond between the GRP laminate and the substrate, which is necessary for long-term performance.
- Cleaning: Use acetone or other solvents to get rid of dirt, oil, and grease first. A clean surface makes it less likely that the resin will come off, which is why it sticks so well.
- Grinding: Grind the surface to form a base that is even and smooth. As noted in Scribd, to make sure the bond area is fully adhered, the industry says to grind GRP pipes 20 mm past the bond area.
- Drying: Dry the surface all the way to stop delamination and make the bond weaker.
Environmental Requirements
The temperature should be between 15 and 25°C, and the humidity should be less than 70%. These conditions make adhesion difficulties less likely and resin curing more likely. High humidity can cause problems with the process, which can lead to defects (Resin Library).
The Importance of Inspection Before Lamination
Check the surface for cracks or other weak spots. A full inspection makes sure that the substrate can hold up the laminate, which stops more problems from happening.
2. Preparation of the Resin System
The function of the resin matrix relies on acting as a binder to bind glass fibers into a composite structure that requires careful preparation, as mentioned in the last step.
Mixing Resin and Catalyst
Catalysts like MEKP (Methyl Ethyl Ketone Peroxide) or BPO (Benzoyl Peroxide) at a 1–3% ratio by the volume of resin base prevent problems such as incomplete curing process or uncontrolled heating that may damage the laminated layers.(Source: ScienceDirect)
Types of Resins
Resin types include polyester, vinyl ester, and epoxy resin. Polyester is used for its cost-effectiveness and corrosion resistance in general use cases, while vinyl ester works in harsh environments like aggressive fluids or soils. In specific uses like aerospace, epoxy resin, with its high strength, performs effectively.
Importance of Ratio and Pot Life
The pot life, usually 20 to 40 minutes, during which the mixture is still workable, is determined by the resin-catalyst ratio. This depends on temperature; higher temperatures decrease pot life and require less catalyst, while lower temperatures require more. Correct proportions provide appropriate curing and durability.
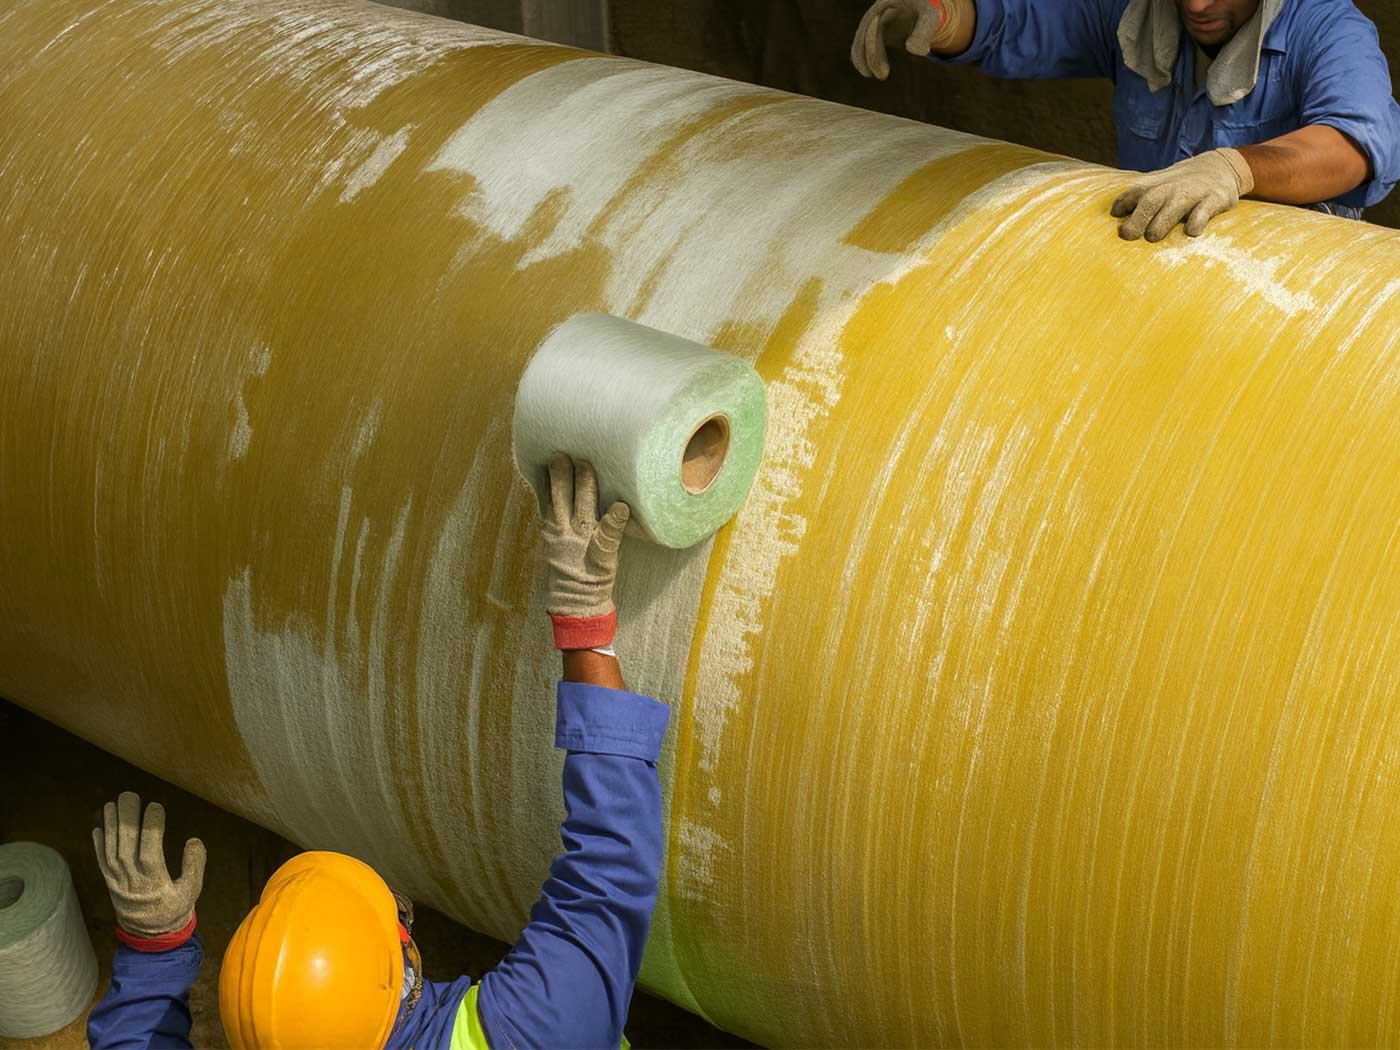
3. Fiberglass Reinforcement Application
This step combines glass fibers and resin to form the primary part of the GRP laminate.
Types of Fiberglass Mats: Weaved roving (450–900 g/m2) adds strength for structural reinforcement, such as bridge components, while chopped strand mat (CSM) (450–600 g/m2) is suitable for general applications.
Layering Techniques: To achieve the specific laminate thickness in glass fiber layers, several layers for even coverage and consistent pressure tolerance are applied.
Wet-Out Process: to create a smooth and uniform strength in GRP, spray or brush resin based on glass fibers to prevent dry spots.
Air Bubble Removal: Lamination rollers, whether steel or paddle, remove any trapped air for delamination and air bubble avoidance.
4. Last Station: Curing Phase
The curing phase of GRP lamination includes the solidification of the glass fiber and resin mixture to reach the desired strength and durability.
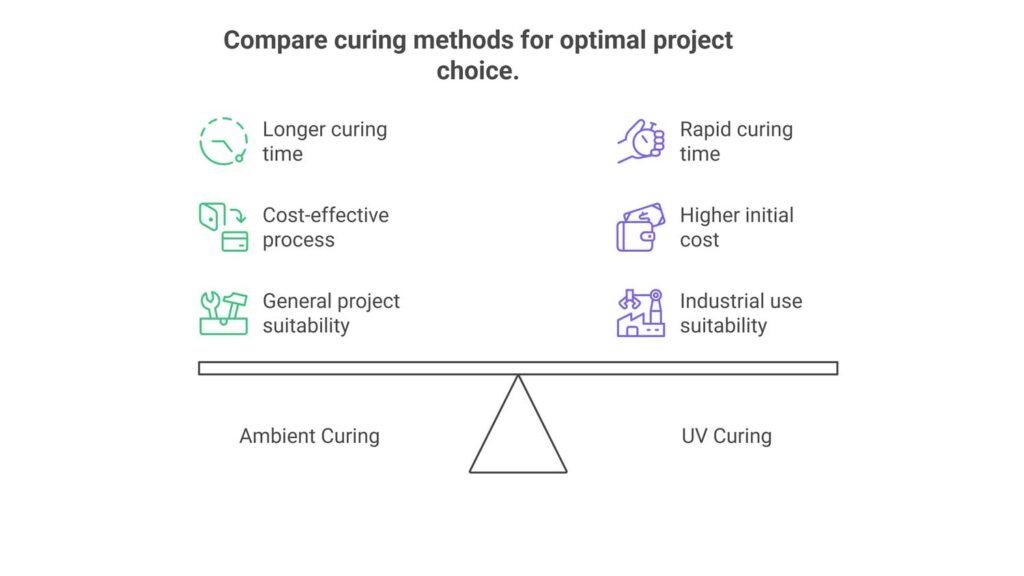
Ambient vs. UV-Curing: what’s the difference?
Ambient curing requires room temperature (typically 15–25°C) and takes 4-8 hours for general projects like pipes or tanks, where cost-effectiveness and resistance matter the most. UV-curing with UV lights reduces the process time to minutes, which is perfect for industrial uses where rapid turnaround is the key.
Curing Temperature and Time Control
In ambient curing, the most-used method, keep the temperature at 15–25°C to prevent defects like cracking or incomplete curing. For a correct resin polymerization, with gel time in 20-40 minutes, consistency in temperature rate creates a uniform finish.
- Post-Curing Tip: For vinyl ester or epoxy resin, control heat (40–60°C for 2–4 hours) to boost strength and chemical resistance, especially for demanding applications like chemical transmission or storage.
| Resin Type | Optimal Curing Temperature | Gel Time | Full Curing Time (Ambient) | Post-Curing Requirements | Applications |
|---|---|---|---|---|---|
| Polyester Resin | 15–25°C | 20–40 minutes | 4–8 hours | Optional: 40–60°C for 2–4 hours to enhance durability. | General use: tanks, pipes. |
| Vinyl Ester Resin | 15–25°C | 25–45 minutes | 6–12 hours | Recommended: 50–60°C for 3–4 hours for chemical resistance. | Chemical storage, marine. |
| Epoxy Resin | 20–30°C | 30–50 minutes | 8–24 hours | Often required: 50–80°C for 4–6 hours for high strength. | Aerospace, structural components. |
Materials Used in GRP Lamination
The GRP lamination process depends on key factors such as materials, methods, and the QC section. In this step, we’ll dive into the base materials of GRP lamination, including glass fiber, resin system, Catalysts and Accelerators, and other additives.
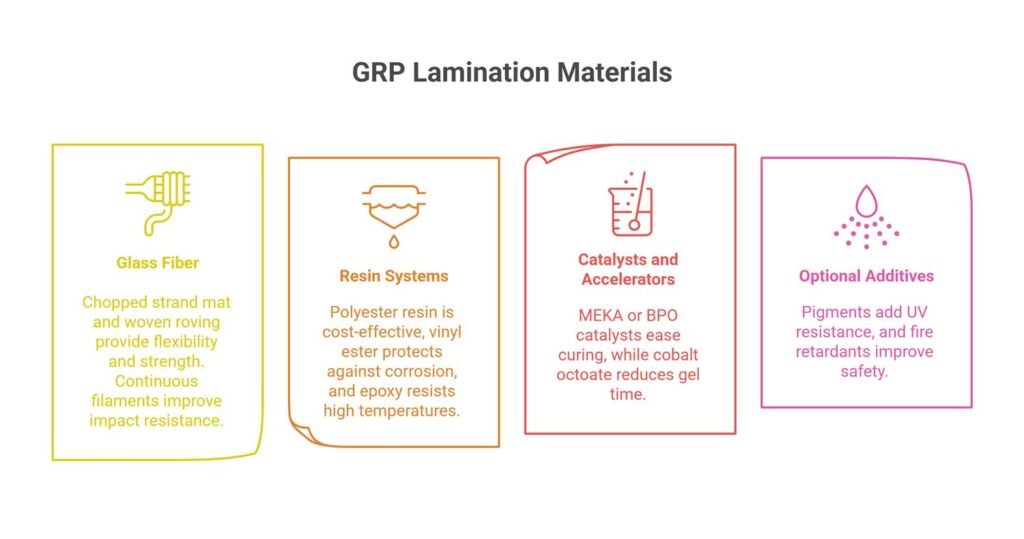
Glass Fiber Types and Formats
Glass fibers are found in Chopped strand mat (CSM) (450–600 g/m²) that is used for general applications like tanks or pipes, while woven roving (450–900 g/m²) includes superior flexibility and strength for structural reinforcement in bridge construction.
Additional Tip: Continuous filaments work in pressure vessels, improving impact resistance by up to 20% and long-term performance.
Resin Systems and Their Properties
As mentioned in the last section, polyester resin is a cost-effective choice for general use cases like roofing panels. While vinyl ester creates a corrosion-protective shield for aggressive chemicals in tanks or pipes, and epoxy resin resists in high-temperature and high-pressure applications like industrial transmission or aerospace.
Catalysts and Accelerators
MEKA or BPO catalysts ease the curing process, while cobalt octoate reduces the gel time to 20-40 minutes.
Optional Additives
Pigments are applied for UV resistance in marine conditions and above-ground use cases to decrease the degradation up to 15%, and fire retardants are added to improve the safety in specific construction.
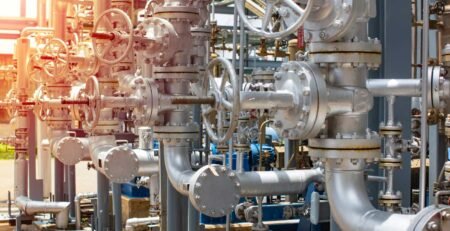
Equipment and Tools for GRP Lamination
The GRP lamination process requires specialized tools and equipment to produce a high-quality and safe glass-reinforced plastic composite for marine, industrial, and construction use cases.
Mixing Containers, Brushes, and Rollers
Mixing Containers: In a non-reactive plastic or metal container, resin and catalyst (e.g., MEKP or BPO) are blended to prevent curing defects like stickiness.
Brushes and Spray Guns: To apply resin evenly during fiberglass wet-out, make sure to use brushes and spray guns that are perfect for detailed areas like tanks or pipes.
Lamination Rollers: Steel or paddle rollers remove air bubbles and consolidate the laminate, boosting strength by 15%.
PPE (Personal Protective Equipment)
Gloves, Masks, Goggles: Protect against resin fumes and skin irritation to reduce health risks by 90%.
Curing Aids
Heaters/UV Lamps: Heaters (40–60°C) or UV lamps ease curing and boost durability for vinyl ester or epoxy resin in applications like chemical storage
| Tool/Equipment | Purpose | Applications | Key Benefit |
|---|---|---|---|
| Mixing Containers | Blend resin and catalyst accurately | All GRP projects | Prevents curing defects |
| Brushes/Spray Guns | Apply resin for fiberglass wet-out | Tanks, hulls | Ensures even saturation |
| Lamination Rollers | Remove air bubbles, consolidate laminate | Pipes, panels | Improves strength by 15% |
| PPE (Gloves, Masks, Goggles) | Protect against fumes and irritation | All GRP tasks | Reduces health risks by 90% |
| Heaters/UV Lamps | Control curing process | Post-curing, UV-curing | Speeds curing, enhances durability |
Technical Quality Control in the Lamination Process
In the quality control section, engineers and manufacturers ensure consistent quality through the GRP lamination process through inspection of several points.
Thickness Measurement
To decrease the failure rate up to 30%, measure the uniformity of laminate thickness by calipers (e.g., 4–6 mm for pipes).
Adhesion Testing
The prevention of delamination through the resin bonding process comes from pull tests. Consider that poor adhesion may decrease the long-term performance of GRP by 20% over decades.
Visual Inspection
Air bubbles, fiber show-through, and delamination are visually recognizable and should be inspected to remove them for durability and reliable performance.
Additional Tip: Visual checks identify 80% of surface defects, ensuring quality.
Cure Verification
Measure the gel time (20–40 minutes) to guarantee full polymerization and perform tack-free tests to verify resin curing. Strength is increased by 15% to 20% with proper curing.
Overview
The GRP lamination process produces durable, corrosion-resistant glass reinforced plastic (GRP) composites. This process goes through surface preparation, resin application, fiberglass layering, and curing to create a high-quality finish for marine, construction, and industrial applications. The GRP lamination process requires specialized tools and equipment to facilitate ease, especially for industrial applications, given the predicted GRP market to reach USD 69.0 billion by 2031.
FAQs
1- What are the key purposes of GRP lamination?
GRP lamination is mainly used in repairing damaged pipes or tanks, adding strength to structures like bridges or marine hulls, and lining surfaces in chemical tanks or wastewater facilities to prevent corrosion.
2- Why is surface preparation important in GRP lamination?
Proper surface preparation makes a strong bond between the GRP laminate and the substrate, which is necessary for long-term performance.
3- What environmental conditions are required for GRP lamination?
The temperature should be between 15 and 25°C and the humidity should be less than 70%. These conditions make adhesion difficulties less likely and resin curing more likely.


Leave a Reply